The Making of a Haider Ackermann Grail
You’ve probably seen it before. Haider Ackermann’s SS17 menswear collection. He featured this bleached kimono in multiple different colorways, and I was particularly drawn to the white/red.
Used pieces on Grailed go for around $1k, which is about $950 more than I’m willing to/can spend. I decided to try to make one myself. I knew it would obviously not be the exact same as Haider’s, but I still wanted to get the look and color palette.
Disclaimer: this is not a detailed tutorial.
I wanted to document the general process in case anyone is interested in attempting this themselves. I didn’t measure a lot of things, so I don’t think it would be helpful to go into extreme detail when I can’t provide exact instructions.
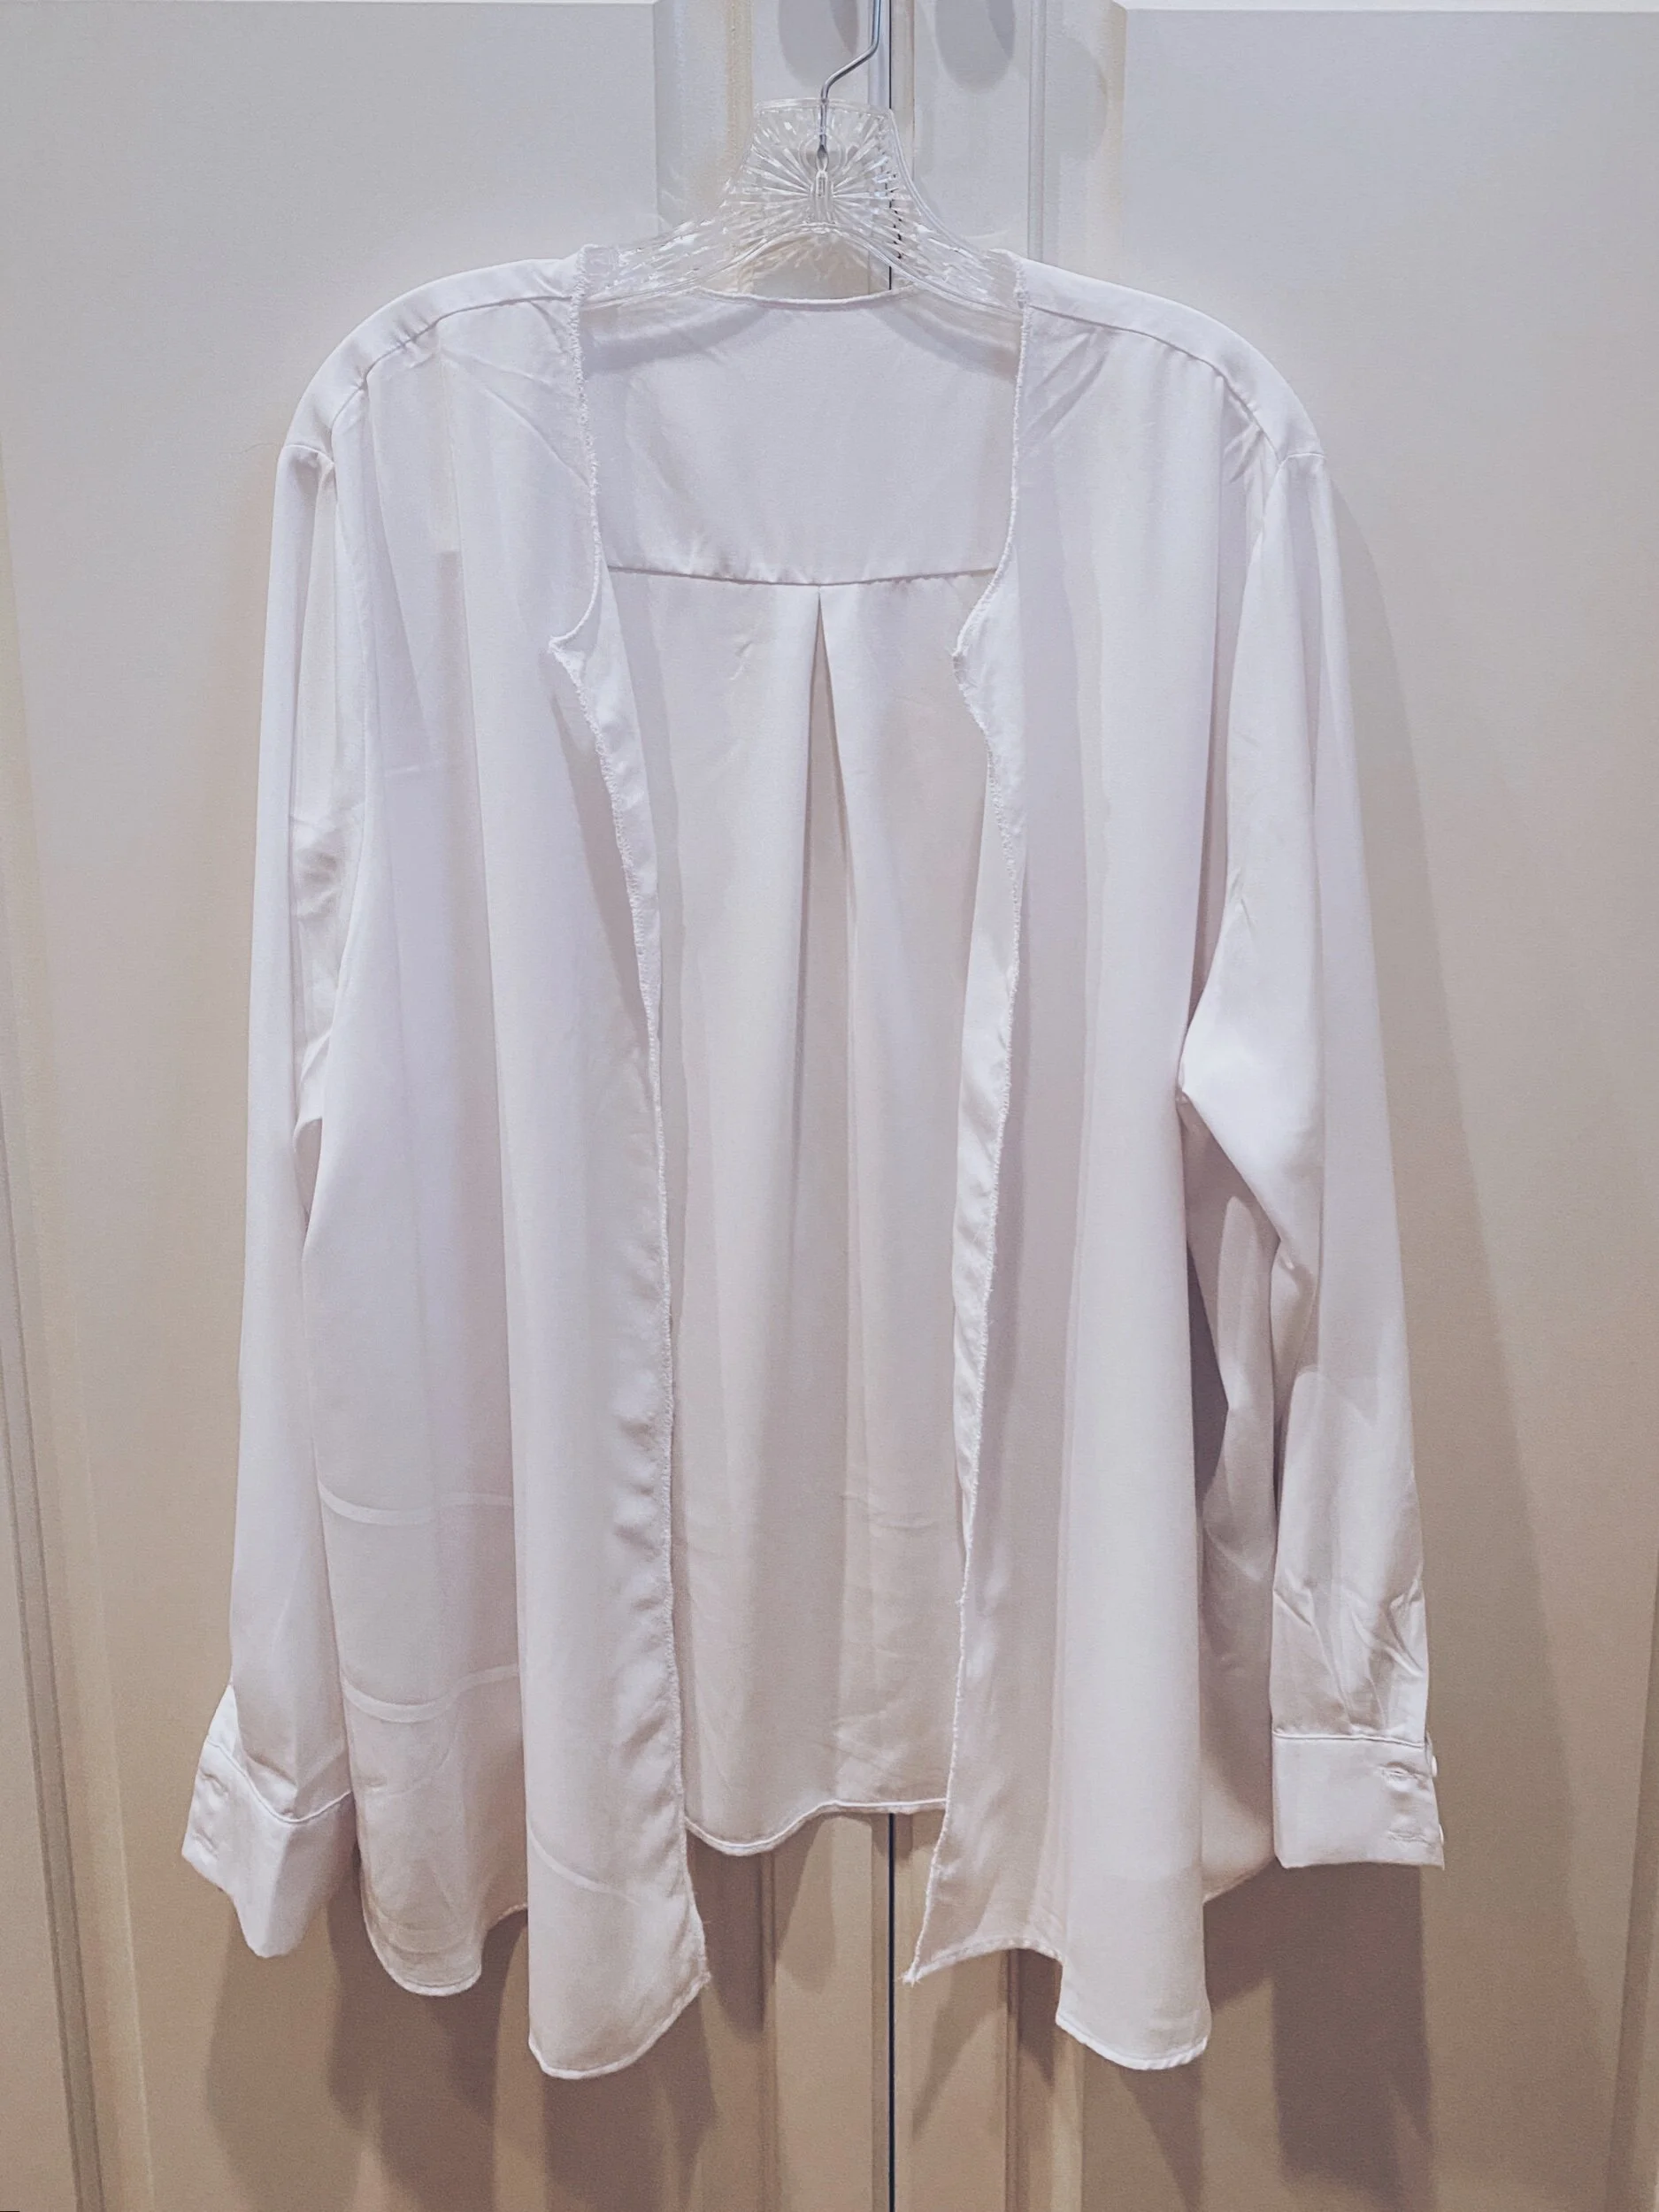
Step 1: acquire a white shirt
I went with this shirt from H&M. If you wanted to get even more crafty, you could buy some white fabric and make a shirt from scratch/from a pattern. Regardless, make sure the fabric is something lightweight and flowy. Some fabrics to look for are polyester (make sure it’s not too shiny/satin-y), rayon, viscose, or silk (again, not too shiny). I got the shirt in a few sizes bigger than I would usually wear (women’s XXL), to allow for the front overlap.
Step 2: acquire red fabric
I got one yard of this fabric from Joann, but see the Reflection Period at the end.
Any red fabric that drapes nicely would work here. This fabric was 100% polyester, but you could go for silk if you want to splurge.
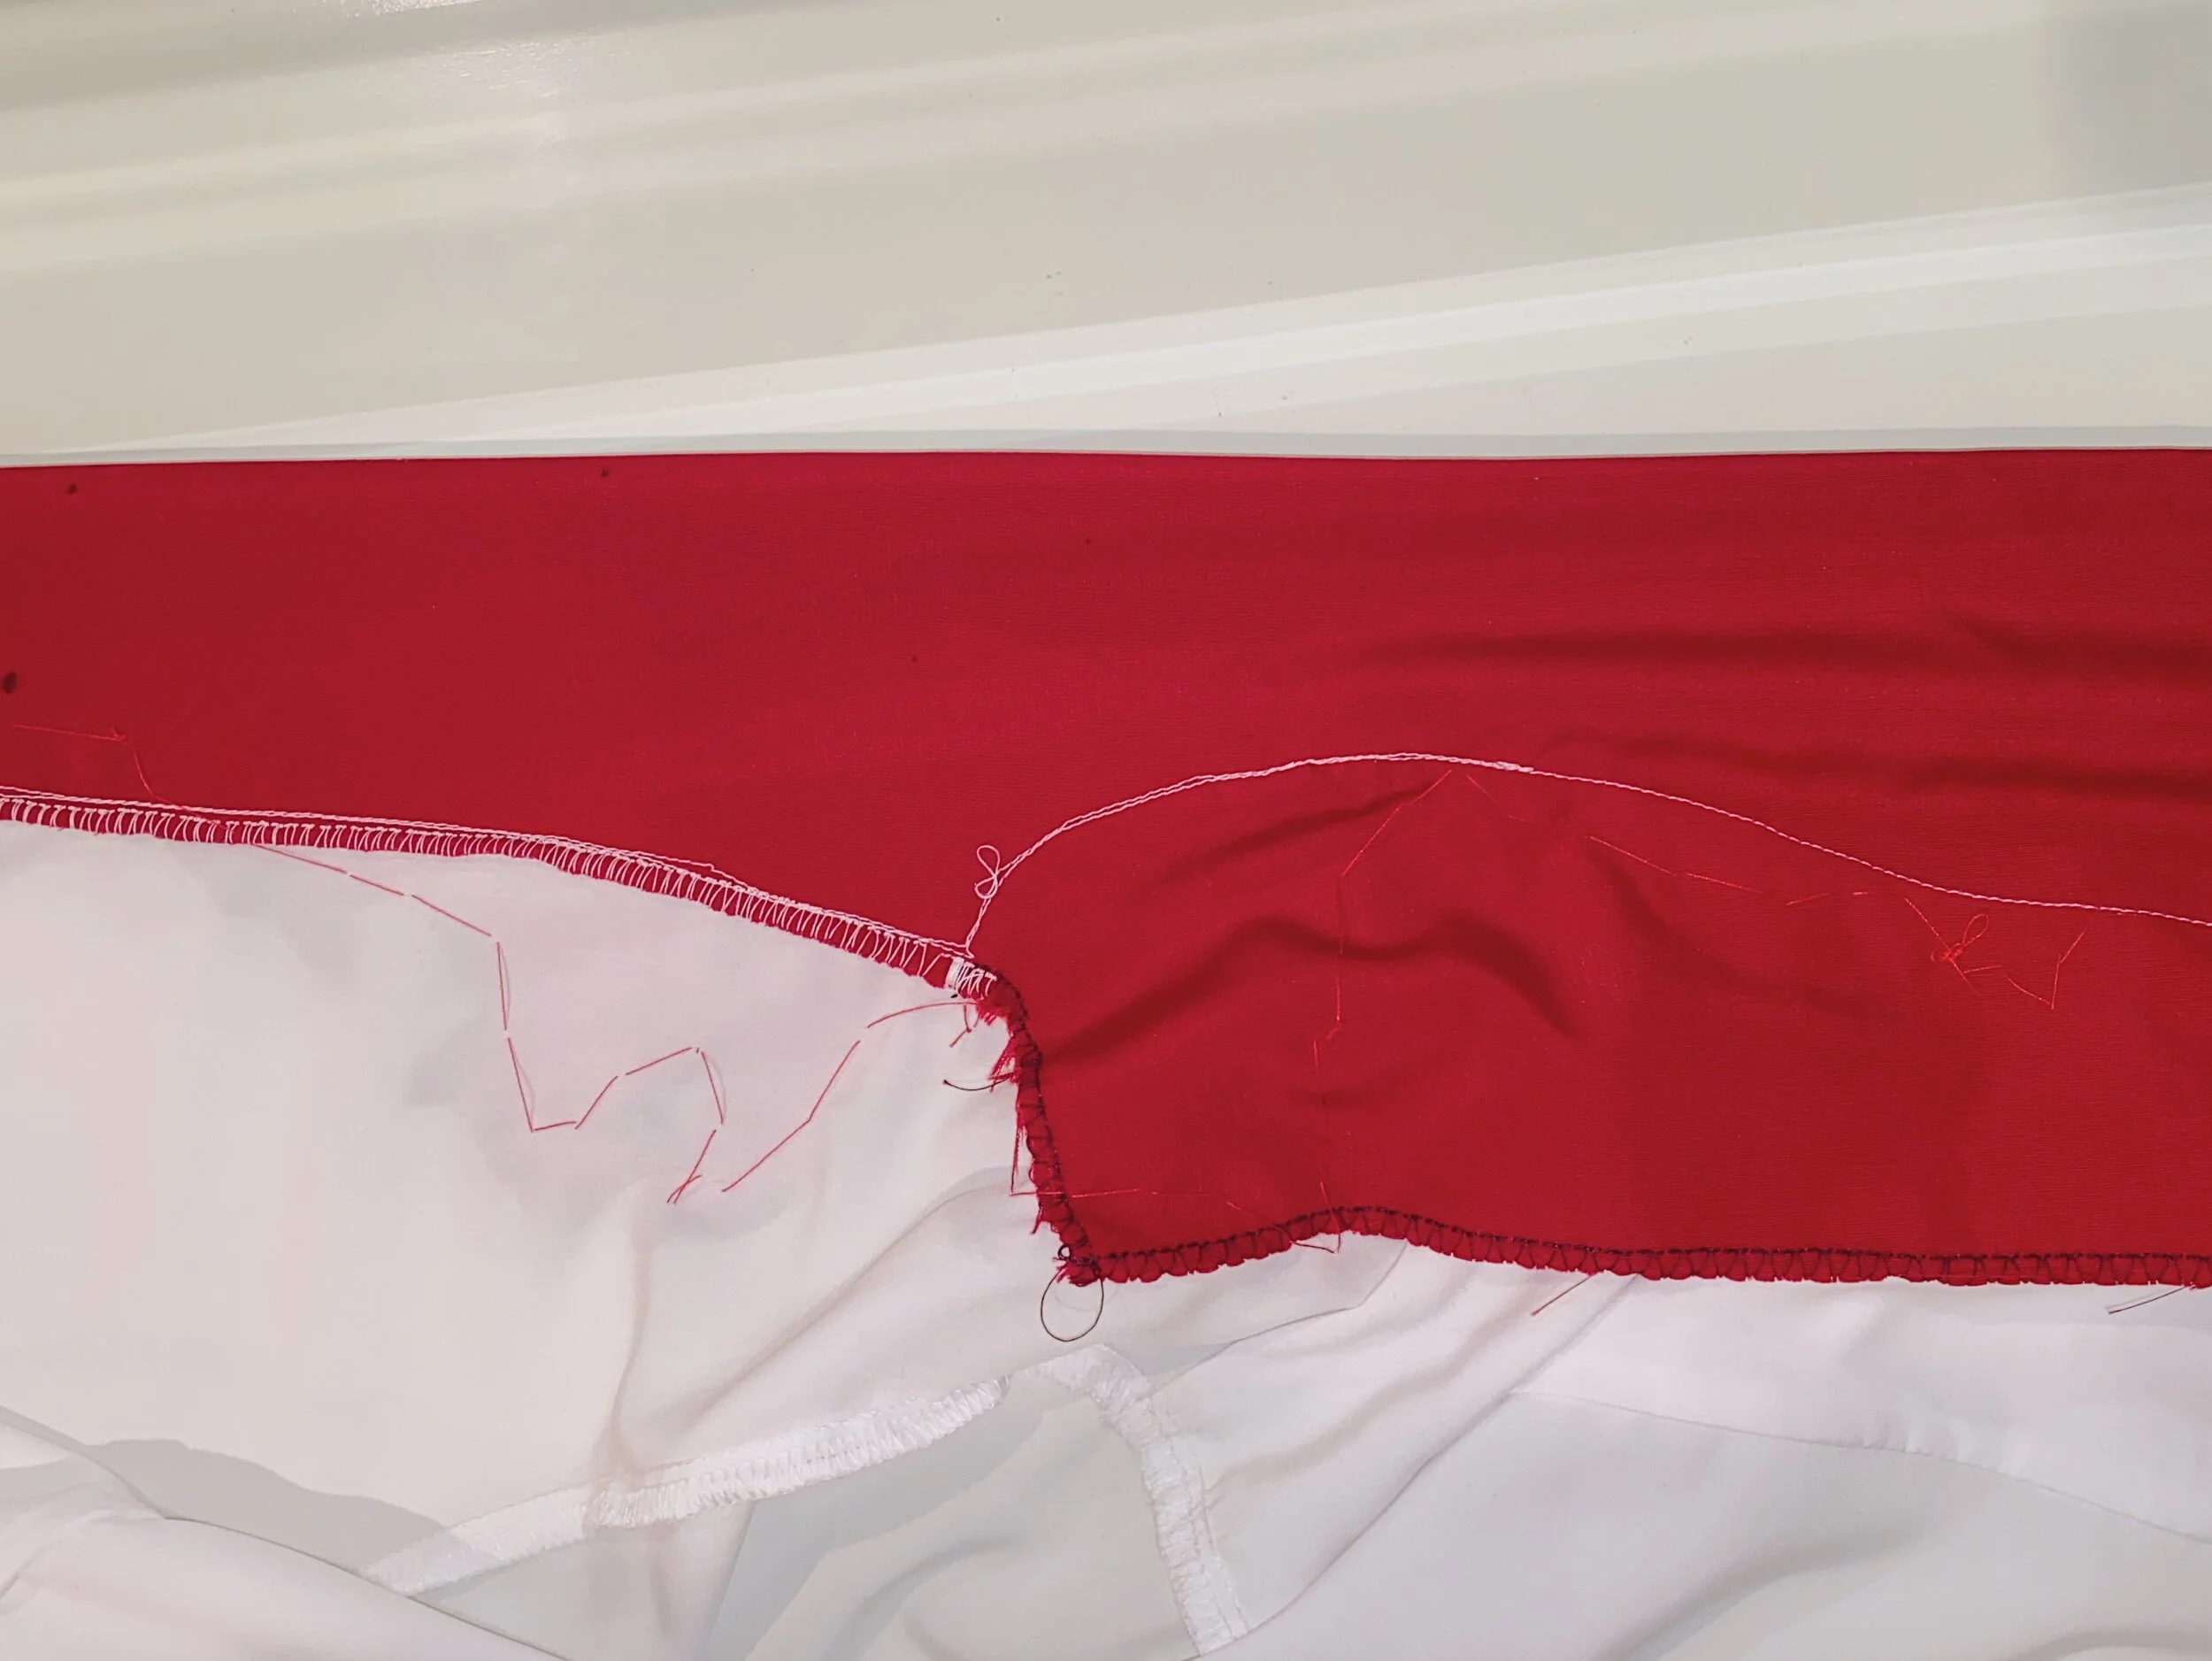
Step 3: cut off the shirt collar & placket and finish/serge the edges
A warning: it was pretty annoying to work with this fabric, since it’s so thin and slippery. Finishing the seam took a lot longer than it may have on a less flowy fabric.
Step 4: prep the red collar
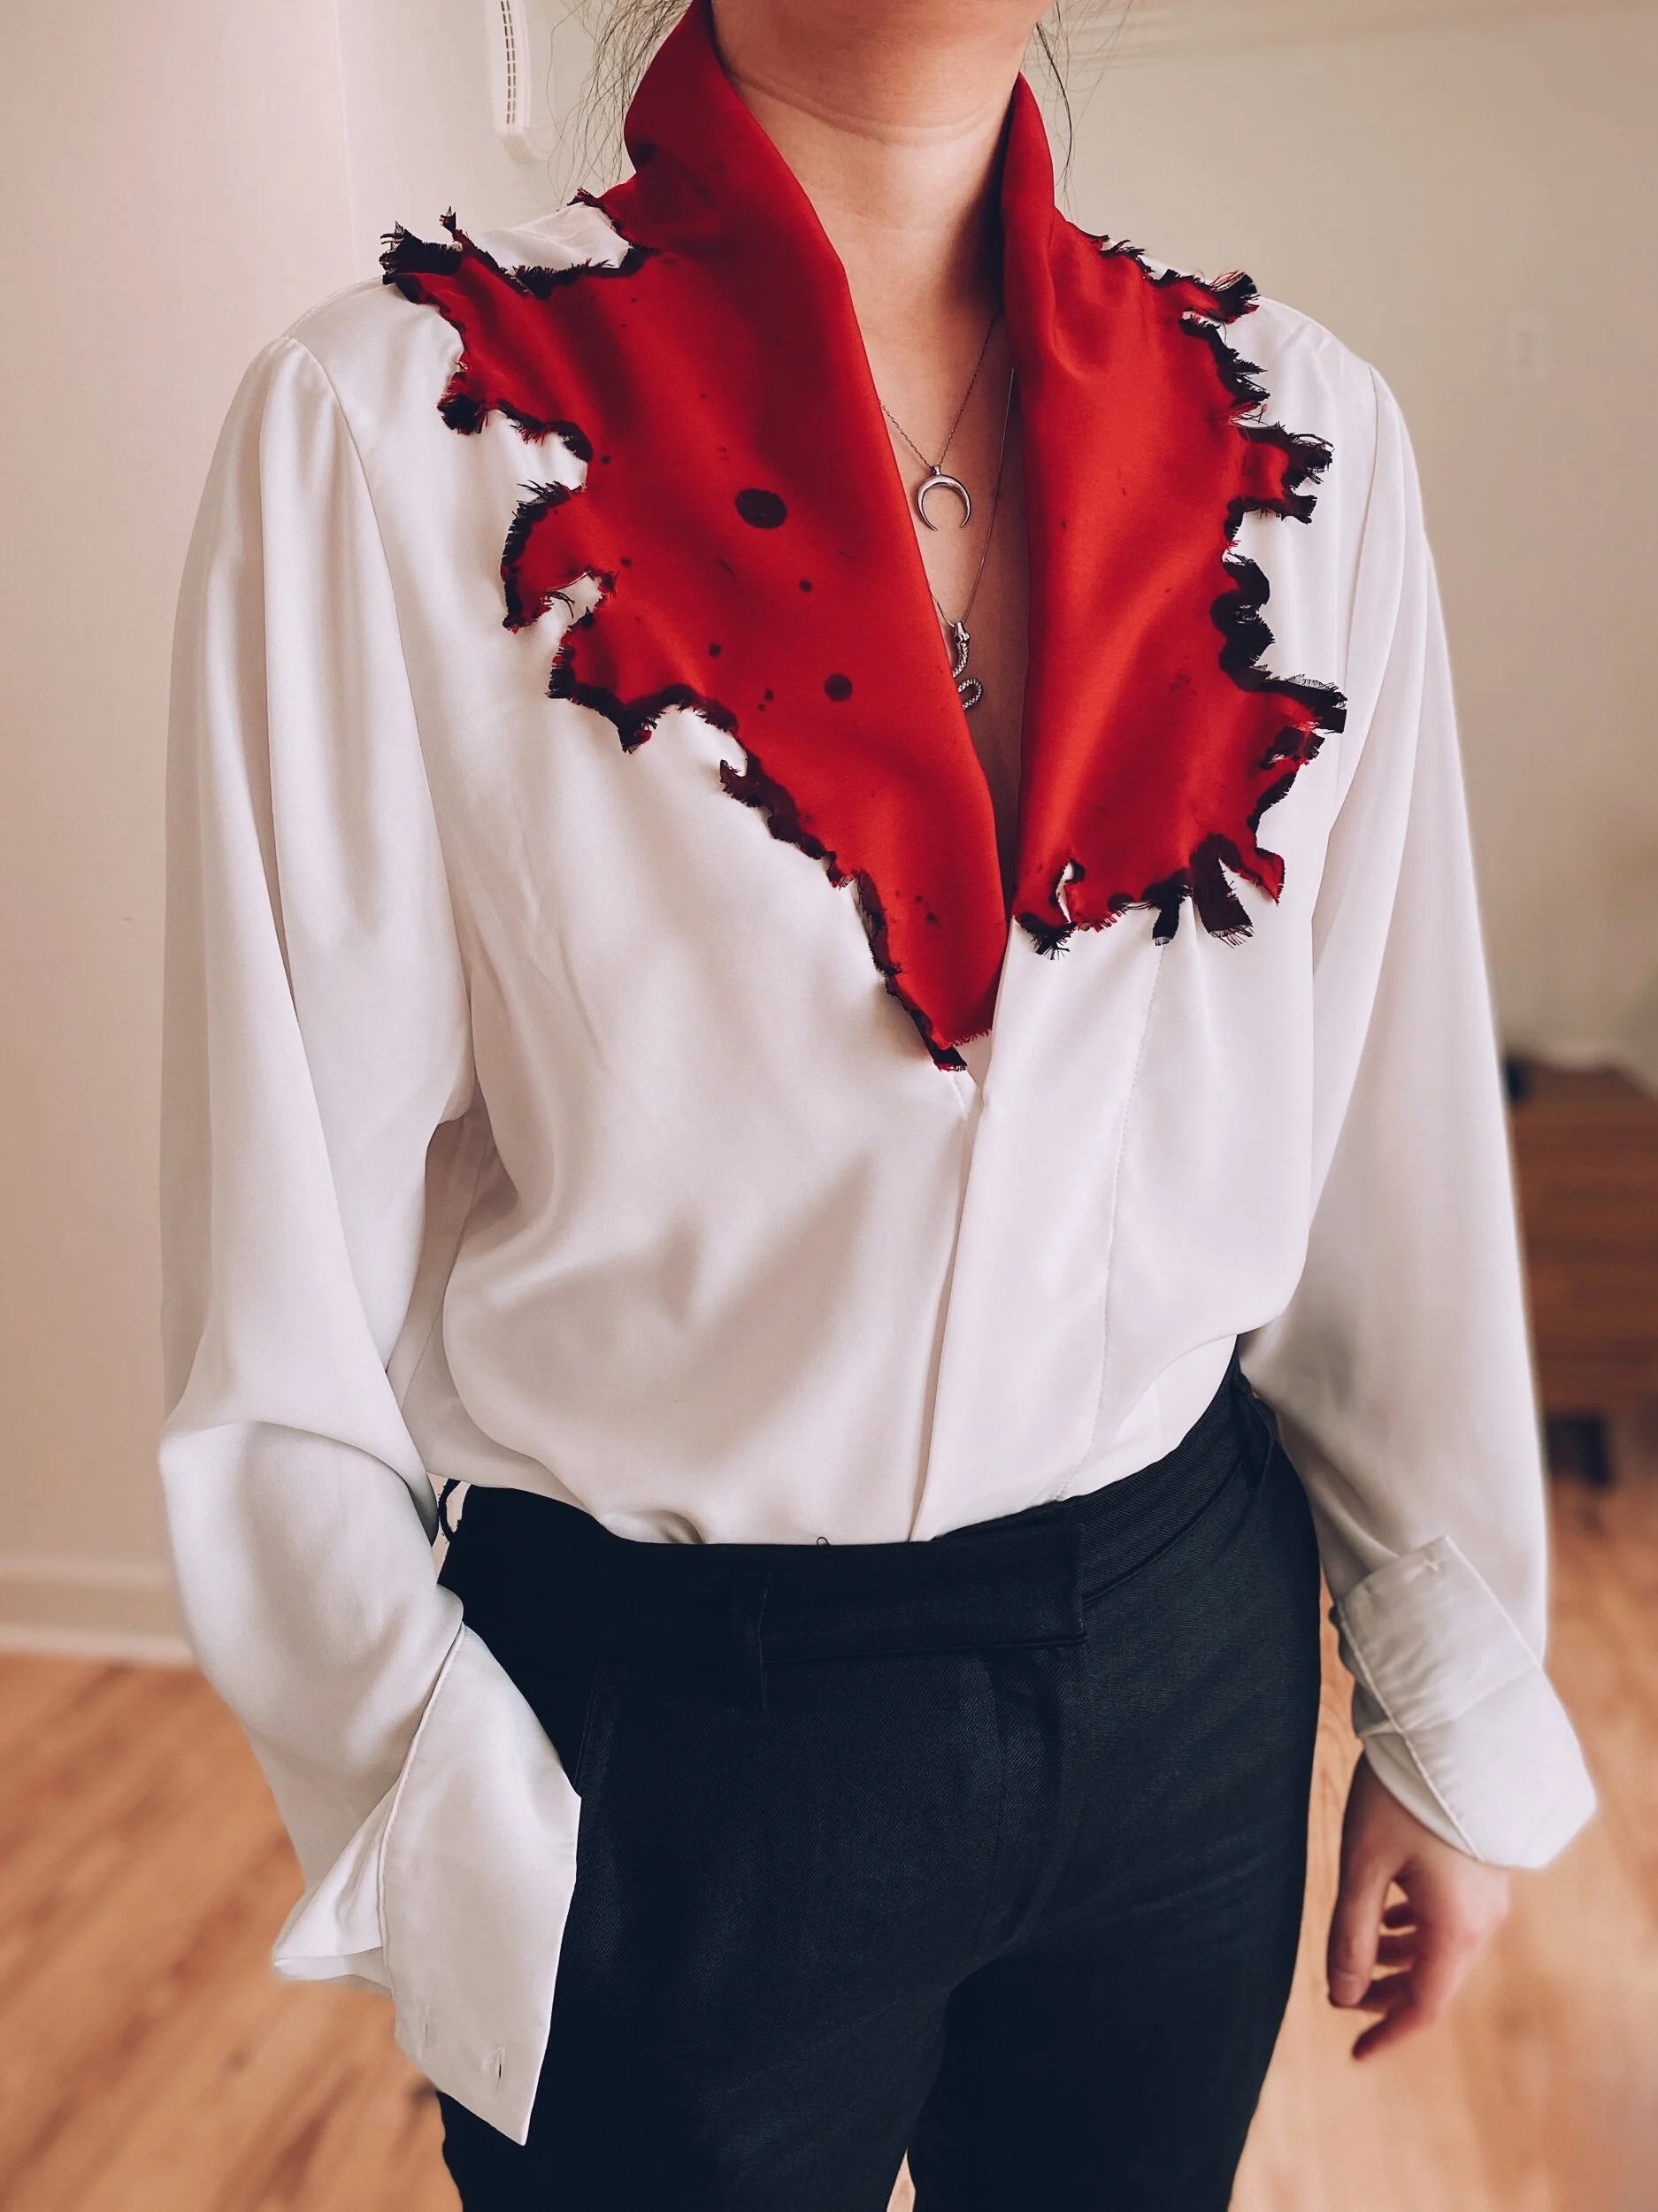
I cut the red fabric to the proper length to go around the collar of the shirt. Then, I cut a design along one long side, frayed the edges, and used some black acrylic paint mixed with water to dye the edges. If you accidentally drip paint somewhere other than along the edge, make it look like you meant to do that.
Step 5: attach the red piece to the shirt + other finishes
First, I added a buttonhole on one side of the placket and a button on the other side. Then I folded the placket area under and sewed it down the front. I sewed the straight (bottom) red edge to the edge of the shirt collar by machine. Finally, I flipped the cut/dyed edge over on top and hand-sewed it down about half of an inch from the edges using matching red thread. I decided to let the frayed edges just kind of sit on top instead of being tacked down.
Step 6: finished!
Reflection Period: things I would have done differently
Chosen a better-draping red fabric. The fabric I used works fine, but it is more stiff than I would have liked. Non-shiny silk would have been ideal.
Been more careful with the black paint. There are multiple black spots on the red collar part, which could be a Look, but I think I would have preferred a cleaner look.
Made the white shirt from scratch (also from silk)? Since I was using a pre-made shirt, it was obviously not made exactly like the Haider Ackermann piece. Even though the pre-existing shirt was a women’s XXL, I still would’ve liked to have had more fabric in the front to have room to do a more dramatic crossover/overlap.


